Sunday, January 25, 2015
New blog
From now on posts for this blog will be posted on a new blog I will be running with my sister. I will also copy all my older posts to that blog. Check it out here!
Wednesday, November 12, 2014
Another game of thrones tutorial: Melisandres necklace

For this tutorial you will need a gluegun, foil, red and gold nail polisch (or another type of paint that will stick to smooth surfaces) and a chain or some type of cord.

Start by drawing the approximate shape on a piece of foil. You want it to be able to go about 2/3rds around you neck.
Method 1: this method is easier and quicker, but messier.
Trace the entire shape with hot glue.
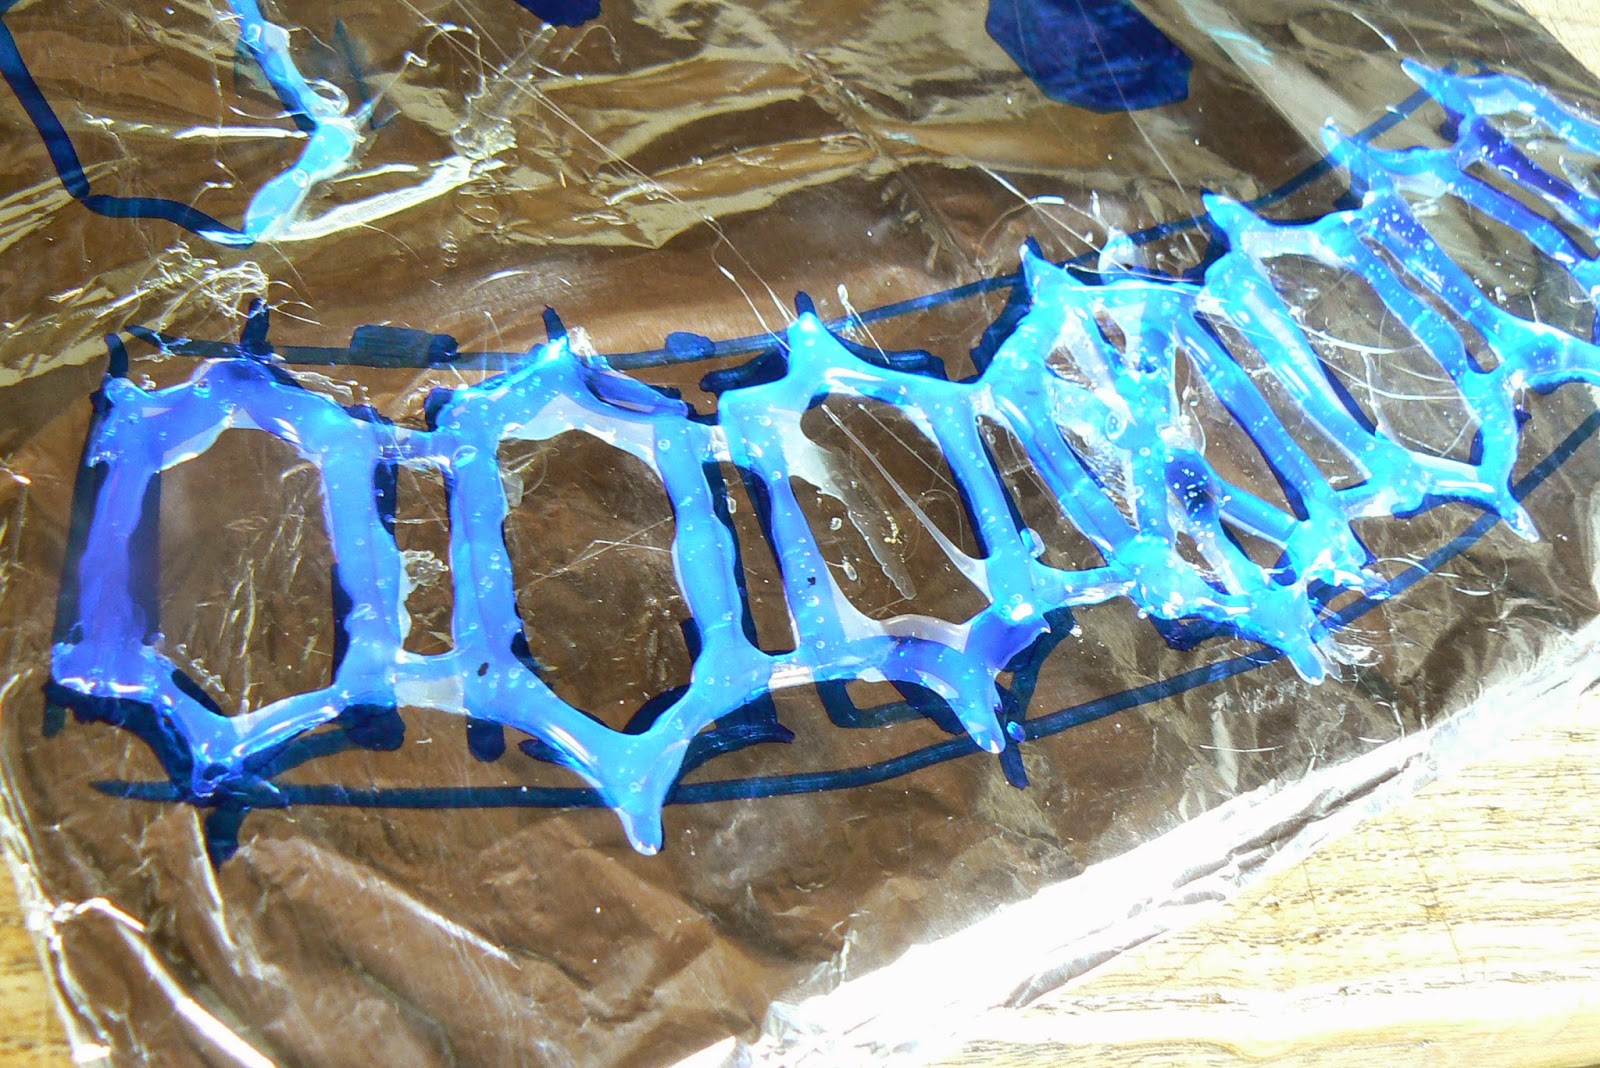

Carefully peel it of the foil (it doesn't matter of some sticks)


if neccesary, cut away the messy parts.


Paint the entire necklace with several coats of shiny gold paint (I used nailpolish) and paint the 'ruby' in the middle red.

If you want, you can also use a small red stone or piece of crunched up foil for the ruby.
Method 2: this method is more work but the result is neater.

also start with drawing the shape on a piece of foil.

Cover the whole shape with one or two layers of glue.

When the glue is cooled, peel it off the foil and start cutting out the outline of the necklace.

Then start cutting out the holes in the middle. Cut away some of the top of the 'joints' to make them look more like joints. Also cut ayay the middle and with some more hot glue make the 6 middle joints and the stone.

Keep the piece in hot water for a while. When it's soft, you can bend it to the shape of your neck. Because this version is thick, it will keep the shape.


Paint it in the same way as the previous method.

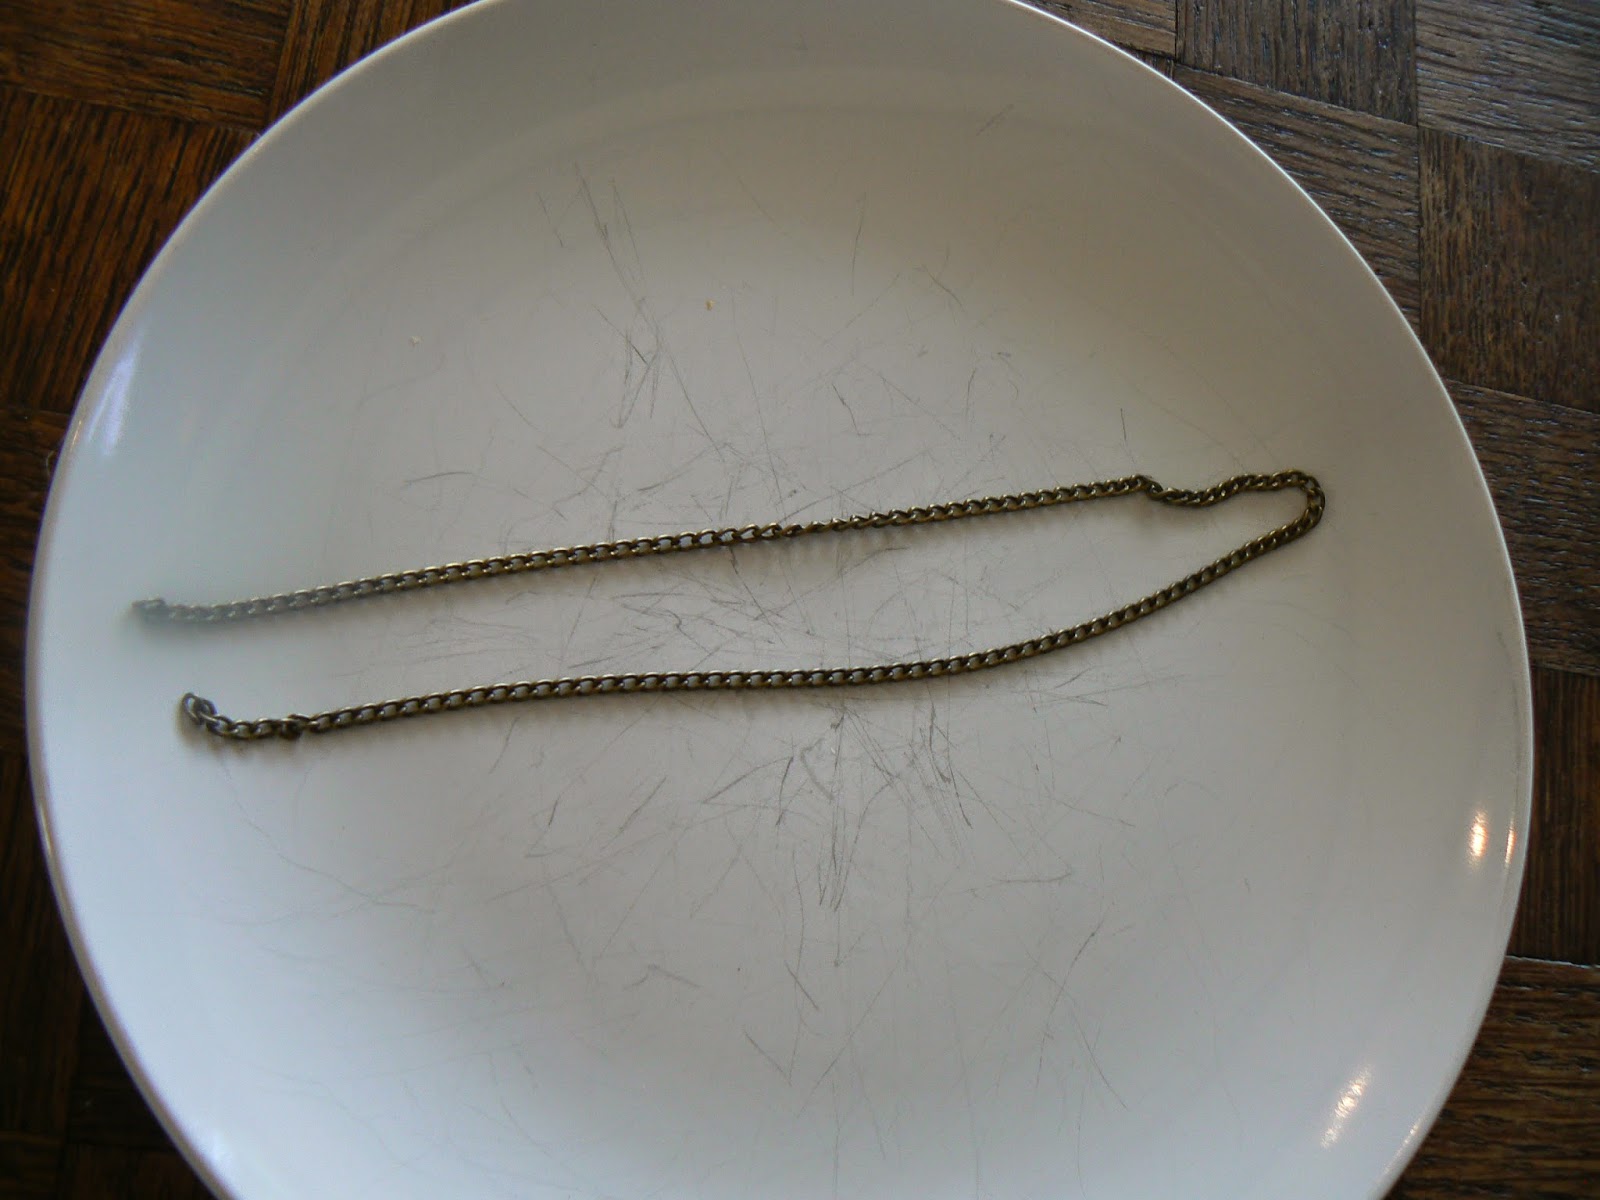
You can attach it with anything from soma elastic band, to a piece of string to chain. I used the ends of an old necklace.

Crocheting Katniss' cowl from Catching Fire
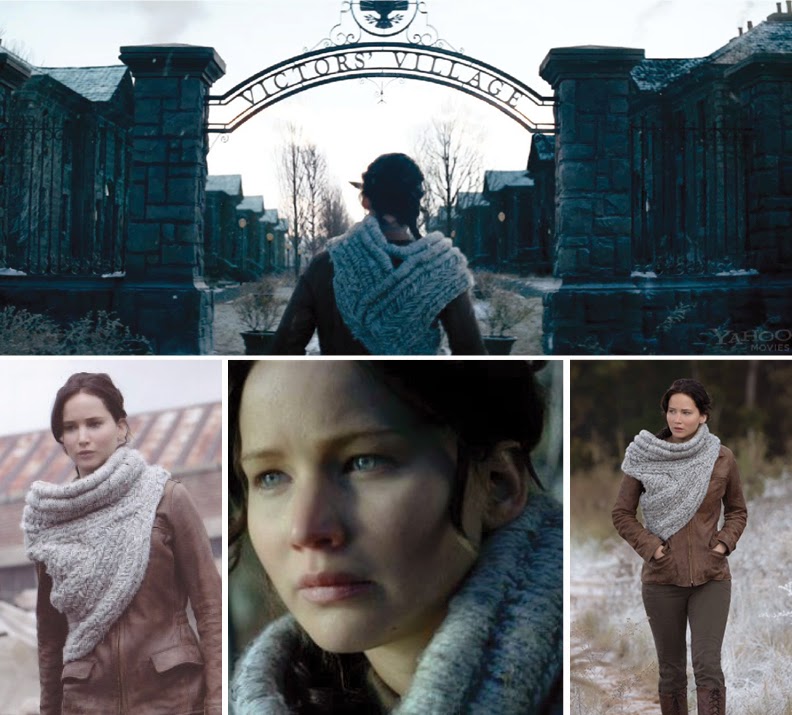
The reference images

Basic pattern of the cowl

The two bands at the top look like they are made up of wool crocheted or knitted around something. For 'stuffing' I cup up some old tights and stretched them out a little to make them thinner.

Make sure the circle that was cut from the top fits around your shoulders. Now start crocheting all the way around. tutorial how to crochet around something

now take the longer part and fit it around the ring (make sure it's slightly larger). Start connecting it to the other ring by using the same stitch as earlier but also pulling the thread through the stitches on the first ring. Keep a small section (about 15 cm) unconnected to the upper ring and sew the right end of the band to a section of the other as show. Continue crocheting until the entire band is covered.

Now start going around the entire bottom of what you have now with a simple stitch. Depending on the size of the stitches, continue until it is about 10-15 cm all around. Now start another band on the front right that goes around and connects to the back. Make it about 15-20 cm wide.

Now make another separate piece that is slightly bigger than the gap on the front and sew it behind. I also embroidered another thinner band under the two bigger ones with the same wool.


Yay, it's done!
Saturday, June 28, 2014
Daenerys' season 3 dress.
I've just started making another one of Daenerys' from Game of Thrones dresses: The one she wears in season 3. There are multiple versions of this dress each one more elaborate than the other. I'm making the second version.

 These are some sketches I've made of the pattern.
 I'm using a heavy dark blue fabric. The outside is too shiny so I'm using the inside.

I'm basically using a simple dress pattern and modifying some things.
 I've changed the sleeves and the neckline.
 I pretty much just made the dress twice and cut out one side.
 So here's what I've got so far. Maybe I'll turn one of the dresses inside out so the upper part can be used as lining. The pieces of fabric that go across the chest I'll just sew on.
 I've also tried making the dragonscale pattern that will decorate the shoulders and front. The smocking technique is explained very well here.

I'm basically using a simple dress pattern and modifying some things.
I'll post some more as soon as I get further!
Monday, June 16, 2014
How to make daenerys' dragon claw necklace

I started out with some different shades of brown and black polymer clay. If you already have the right colour you can just use that.


If you want to shade the pendants, take some different shades of brown, black and gold make-up. (some powder from art pastels also works.)


Subscribe to:
Posts (Atom)