For this tutorial you will need a gluegun, foil, red and gold nail polisch (or another type of paint that will stick to smooth surfaces) and a chain or some type of cord.

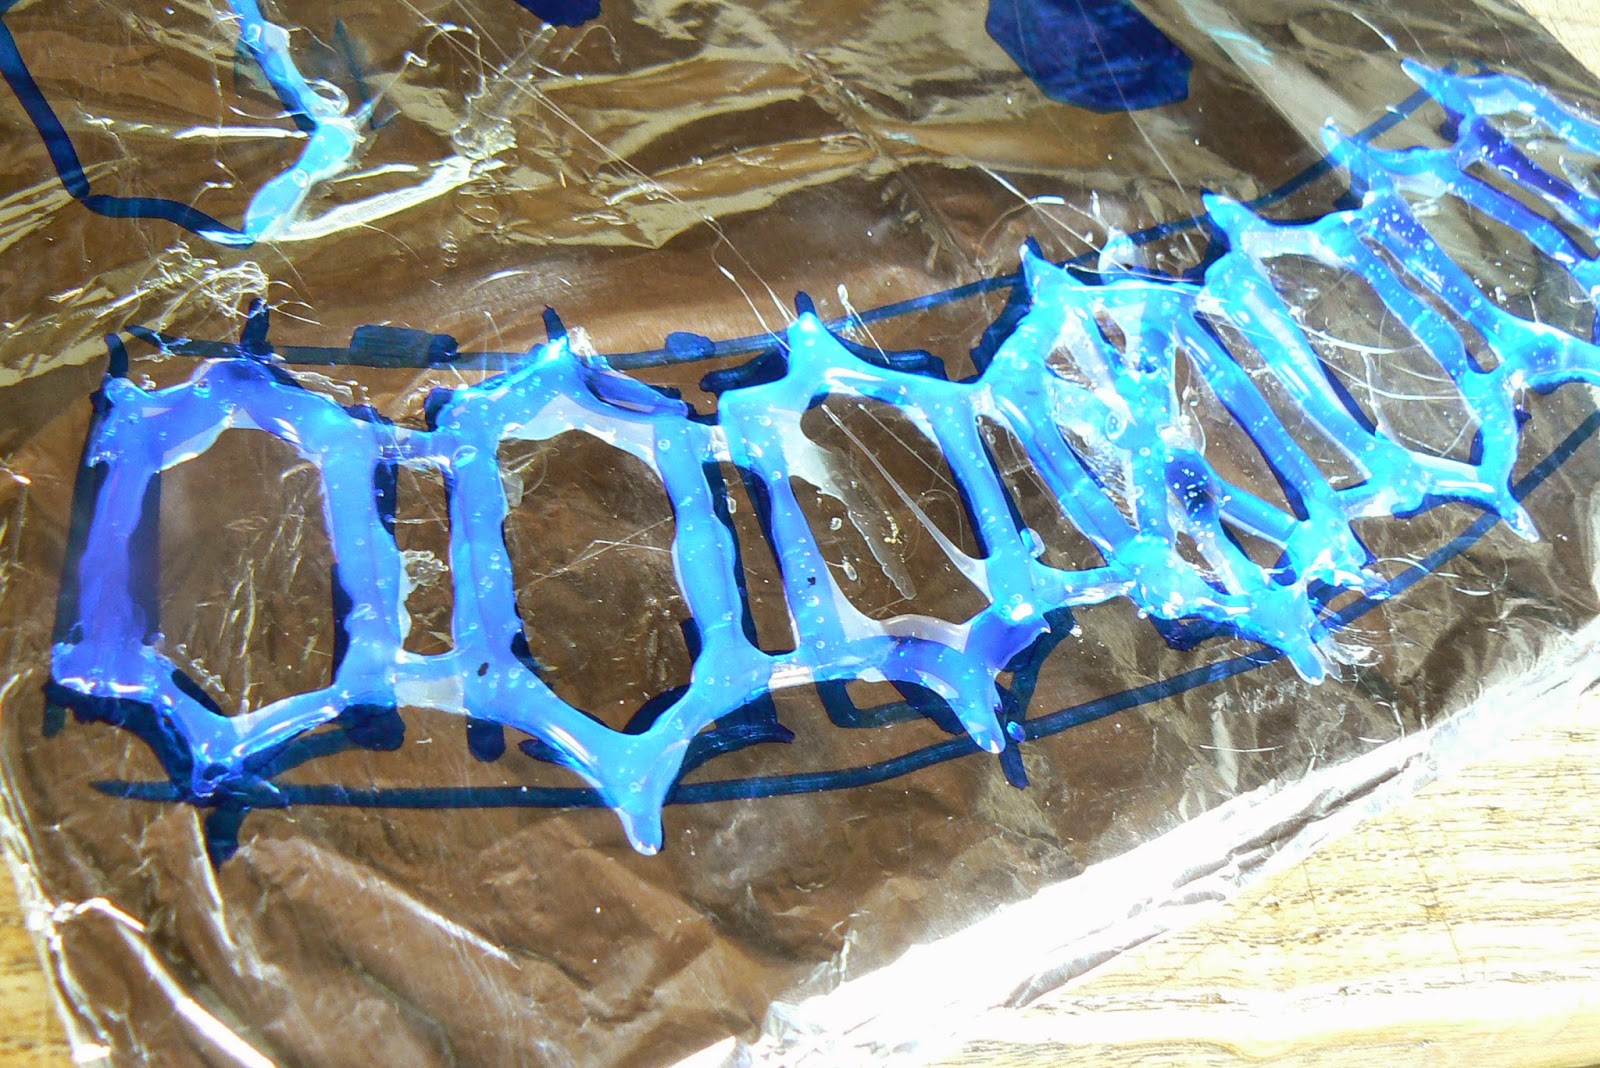
Start by drawing the approximate shape on a piece of foil. You want it to be able to go about 2/3rds around you neck.
Method 1: this method is easier and quicker, but messier.
Trace the entire shape with hot glue.

Carefully peel it of the foil (it doesn't matter of some sticks)


if neccesary, cut away the messy parts.


Paint the entire necklace with several coats of shiny gold paint (I used nailpolish) and paint the 'ruby' in the middle red.

If you want, you can also use a small red stone or piece of crunched up foil for the ruby.
Method 2: this method is more work but the result is neater.

also start with drawing the shape on a piece of foil.

Cover the whole shape with one or two layers of glue.

When the glue is cooled, peel it off the foil and start cutting out the outline of the necklace.

Then start cutting out the holes in the middle. Cut away some of the top of the 'joints' to make them look more like joints. Also cut ayay the middle and with some more hot glue make the 6 middle joints and the stone.

Keep the piece in hot water for a while. When it's soft, you can bend it to the shape of your neck. Because this version is thick, it will keep the shape.


Paint it in the same way as the previous method.

You can attach it with anything from soma elastic band, to a piece of string to chain. I used the ends of an old necklace.